My Way With Hooklengths By Des Shipp
Share the My Way With Hooklengths By Des Shipp article:
Share
"Mastering the art of tying your own hooklengths is a great skill to have"
Tying your own hooklengths is a big skill to have in your match fishing armoury. We’ll let the prolific talent that is Des Shipp show you how.
Having a range of hooklengths tied with different diameter lines and hook sizes for every eventuality will make you much more efficient when on the bank. Mastering the art of tying your own hooklengths is a great skill to have, it can become addictive and before long you’ll find yourself with a pile of hook boxes that are full to the brim with every hook pattern and line diameter that you can think of!
Pre-tied hooklengths save a huge amount of time if you have to change during a match. Being able to quickly pick out a hooklength and attach it to your rig can save as much as five minutes, which may not sound much, but it could be the difference between framing, or being just another name on the weigh sheet. I know which one I’d prefer.
I use a range of different hooklengths depending on what I’m targeting on the day. These are all stored in a variety of hooklength boxes, all designed to keep them organised and free from damage when in transit. The All-Round Hooklengths Retaining System can hold over 100 hooklengths ranging from short 3 inch Method hooklengths to longer 8 inch versions designed for silverfish. It’s ideal for a venue with mixed species.
All of my hooks are tied in the comfort of my home. Tying hooklengths this way saves time when on the bank, keeps your hands warm and finally, it’s also easier to sit and tie hooklengths when the other half is watching the soaps!
There are a couple of different ways and means of tying hooklengths; either by hand or using a specially designed hook tyer. Personally I use a hook tyer for everything. It may sound tricky but once you’ve mastered it, it takes seconds to tie up perfect hooklengths every time. Here’s how:
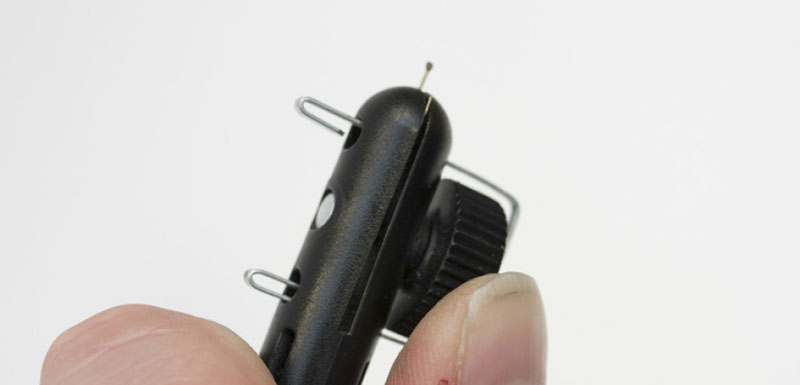 1. Place your chosen hook in the hook tyer and clamp using the thumbscrew.
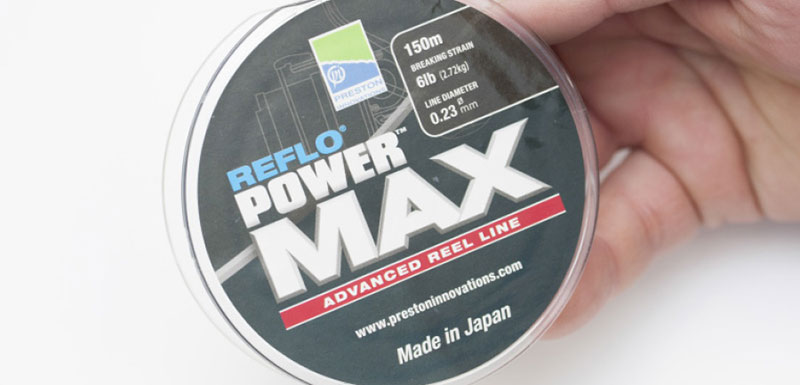 2. Pull a length of your chosen line off the spool; we’ve used Power Max as an example.
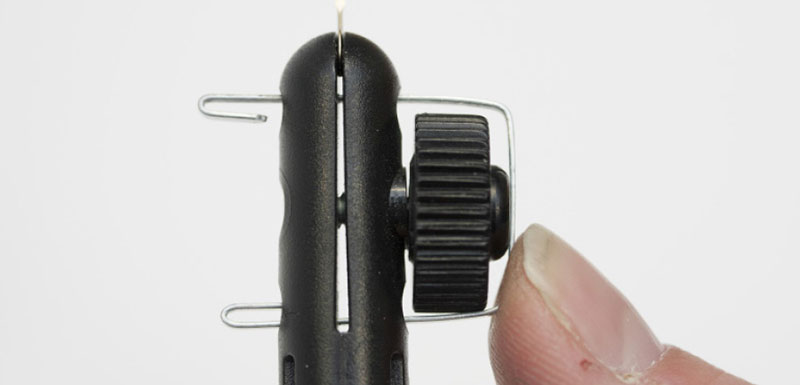 3. Push the flat side of the metal until it is against the thumbscrew.
 4. Wrap your line around the two metal clips, as shown.
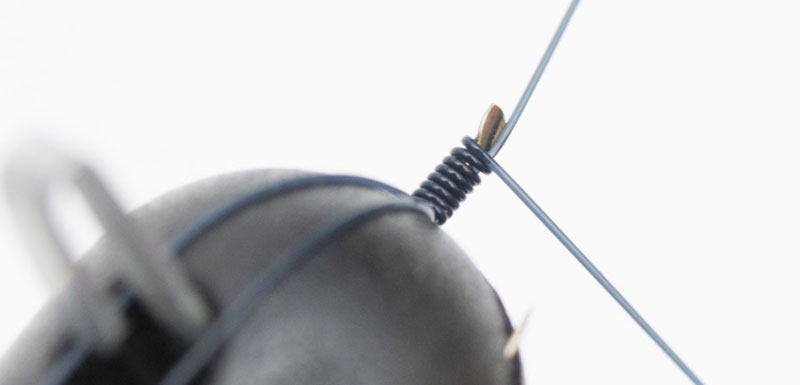 5. Turn the hook tyer to carefully wrap the line up the hook shank between 5 and 8 times.
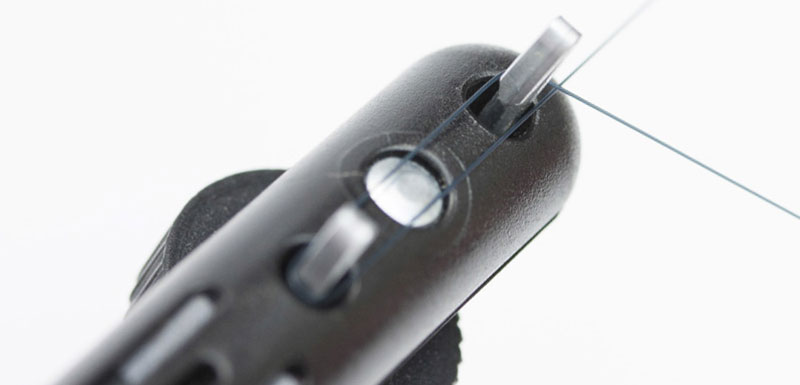
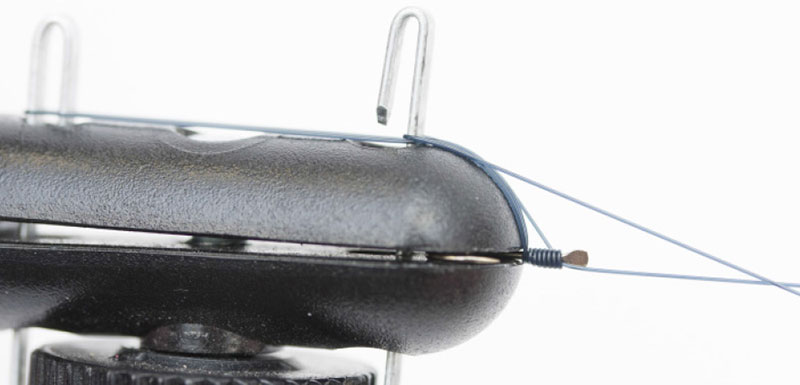 6. Wrap the line around, and underneath, the metal clip and press it down, like so.
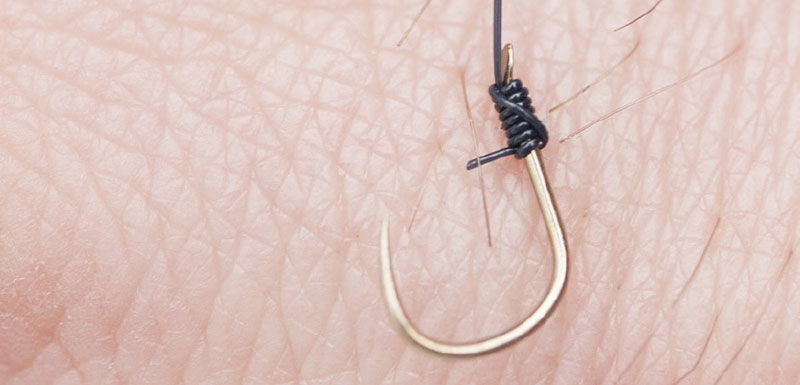
 7. Release the thumbscrew, moisten the knot and pull tight.
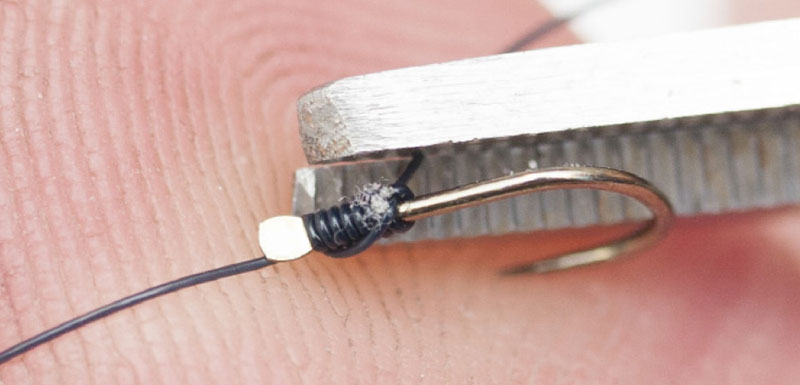 8. Trim the tag off the back of the hook to neaten the knot.
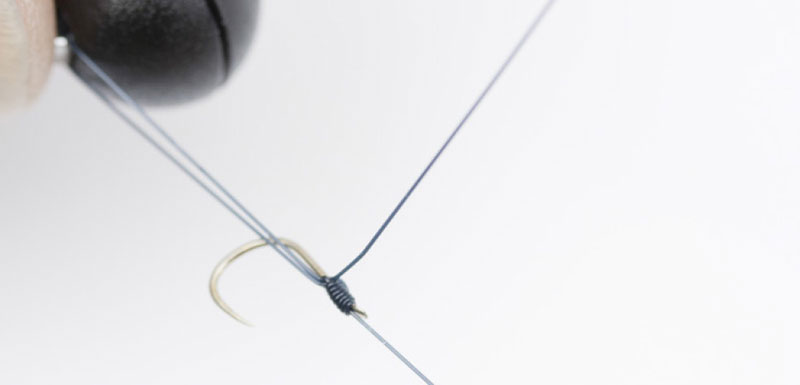
 9. Measure how long you want your hooklength, tie a figure of eight loop and you’re done!